Battery Charging Station Norm Styer, AI2C - Clarkes Gap, Virginia Friday, May 9, 2008 ![]() 
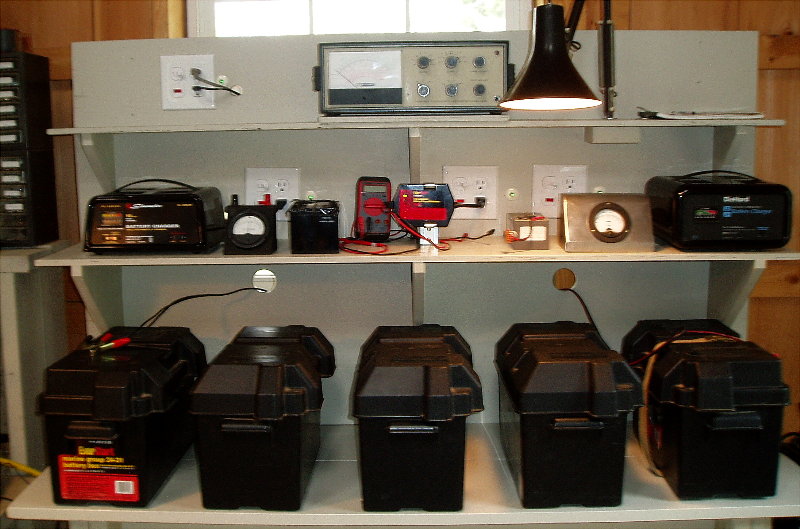
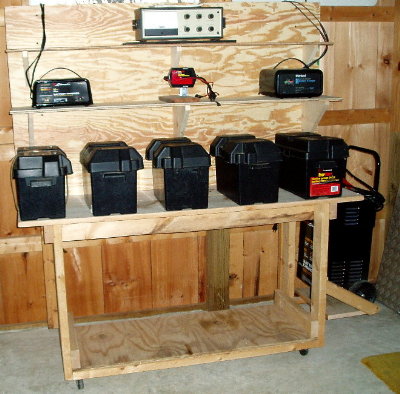
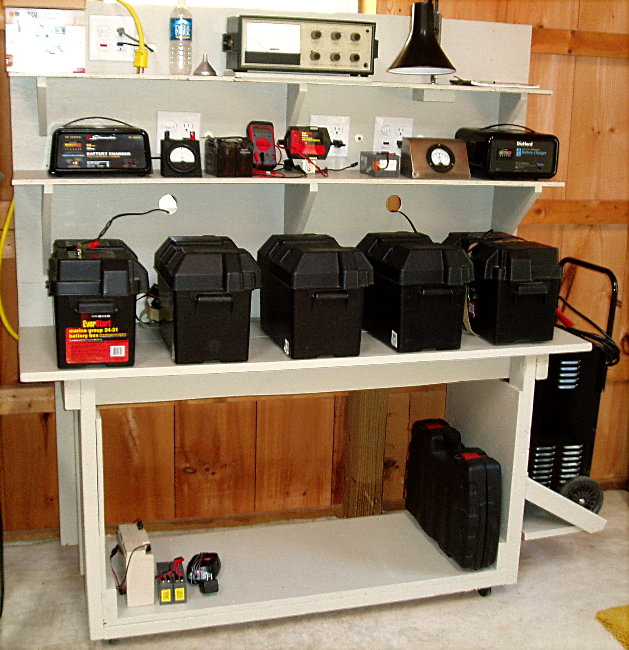
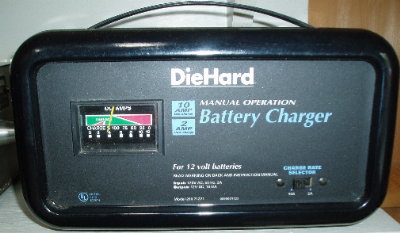
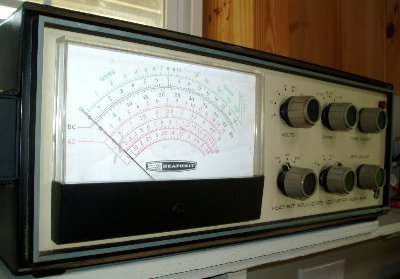
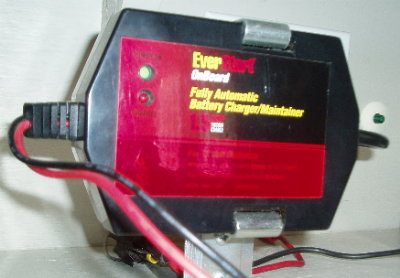
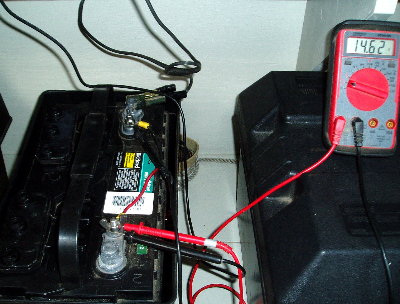
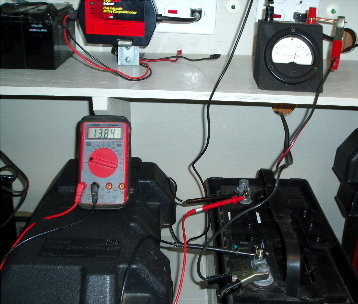
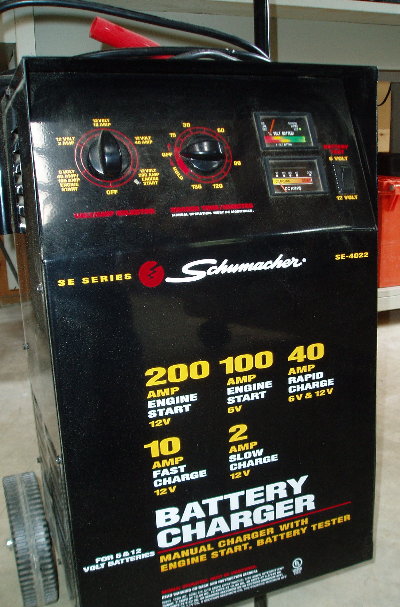
A little background. You never know when you have to roll. You always wonder whether those batteries still have a charge. Can I get 18-hours of station operations out of each of them? I try to keep at least one up just in case. But about this time each year, I try to hook them all up and decide whether they'll get me through another June Field Day. I have a bunch of batteries - some several years old - and a bunch of chargers. This stuff sorta sits around the barn. All this convinced me that I should try to organize all this. |
![]() |
I started with one of my rolling work table on 2-inch casters that is made with 2x4's and 1/2-inch plywood. I added a 32-inch high back and two shelves for chargers and instruments. On the right I added a small platform for the bigger tractor/automobile charger. Everything seems to fit. This keeps everything up and I can move it around to clean. However, by the looks of final loaded table, I should reinforce the 1x5's by adding a horizontal 2x4 under the table top before it sages too much. |
The
electrical wiring was next. I wanted to know at a glance what was 'hot' and the charging current and voltage for each setup. There are controls for three sets of charging systems. Each setup has a sub-master switch with switch-hot pilot lamp that controls a 2-outlet receptacle. A green neon lamp to the right of each receptacles glows when hot. These three sub-master switches are controlled with the master switch that's wired like the others. It's located in the upper left. Holes are provided to route ac and charger cords. I added a lamp to help look down into the batteries. I'm still working on adding current and volt meters for each setup. Right now, I move a multimeter and panel--mounted current meter around to the setup of interest. Hopefully, I'll find some good meters at Dayton 2008. |
![]() |
The
electrical wiring is all mounted on the rear. The main feeder cord is 3-14 stranded power cord and 3-14 stranded power cord feeds each sub-master receptacle. The 120-volt green neon lamps are wired into the receptacles with #16 wire which is covered with the outer cover of RG-6 coax cable. The lamps are mounted through the plywood with Radio Shack RG-6 cable wallboard feed through's. Various charger and instrument cords are routed through holes in the plywood to reach the receptacles
![]() Here are some of the major components used for the three charging station setup.
|
![]() I like this one the best. It handles 6 and 12 volt batteries and has (1) a manual - always charging, (2) an automatic conventional battery maintenance and (3) a maintenance free, deep cycle automatic battery charging modes.
|
![]() This one has 10A and 2A charging rates for 12-volt batteries but has no automatic feature. You have to keep an eye on it.
|
![]() The HeathKit Solid-State Voltmeter, Model IM-16, measures ohms, and DC and AC in several ranges from .5 to 1500 volts. Larry McCaig - KC1AT, past this on to me several years ago when they still lived in Leesburg.
|
![]() This is a simple 12-volt 1.5A trickle charger with automatic monitoring and start-restart. Sometimes it's useful for topping off highly charged units. But, don't expect it to renew an old battery.
|
Here are examples of the current hook ups. The Multimeter is Commercial Electric Model HDM 3300. I hope to add permanent amp and volt meters for each setup. | |
![]() |
![]() |
|
Finally, if all else fails, then I roll out this baby. It's been used more than once on the farm equipment. I like the timer that runs from 0 to 135+ minute. You can read the numbers. |
I hope you found this interesting and helpful. |
NNNN |